Recipe: Mushroom Coxinha (Vegetarian)
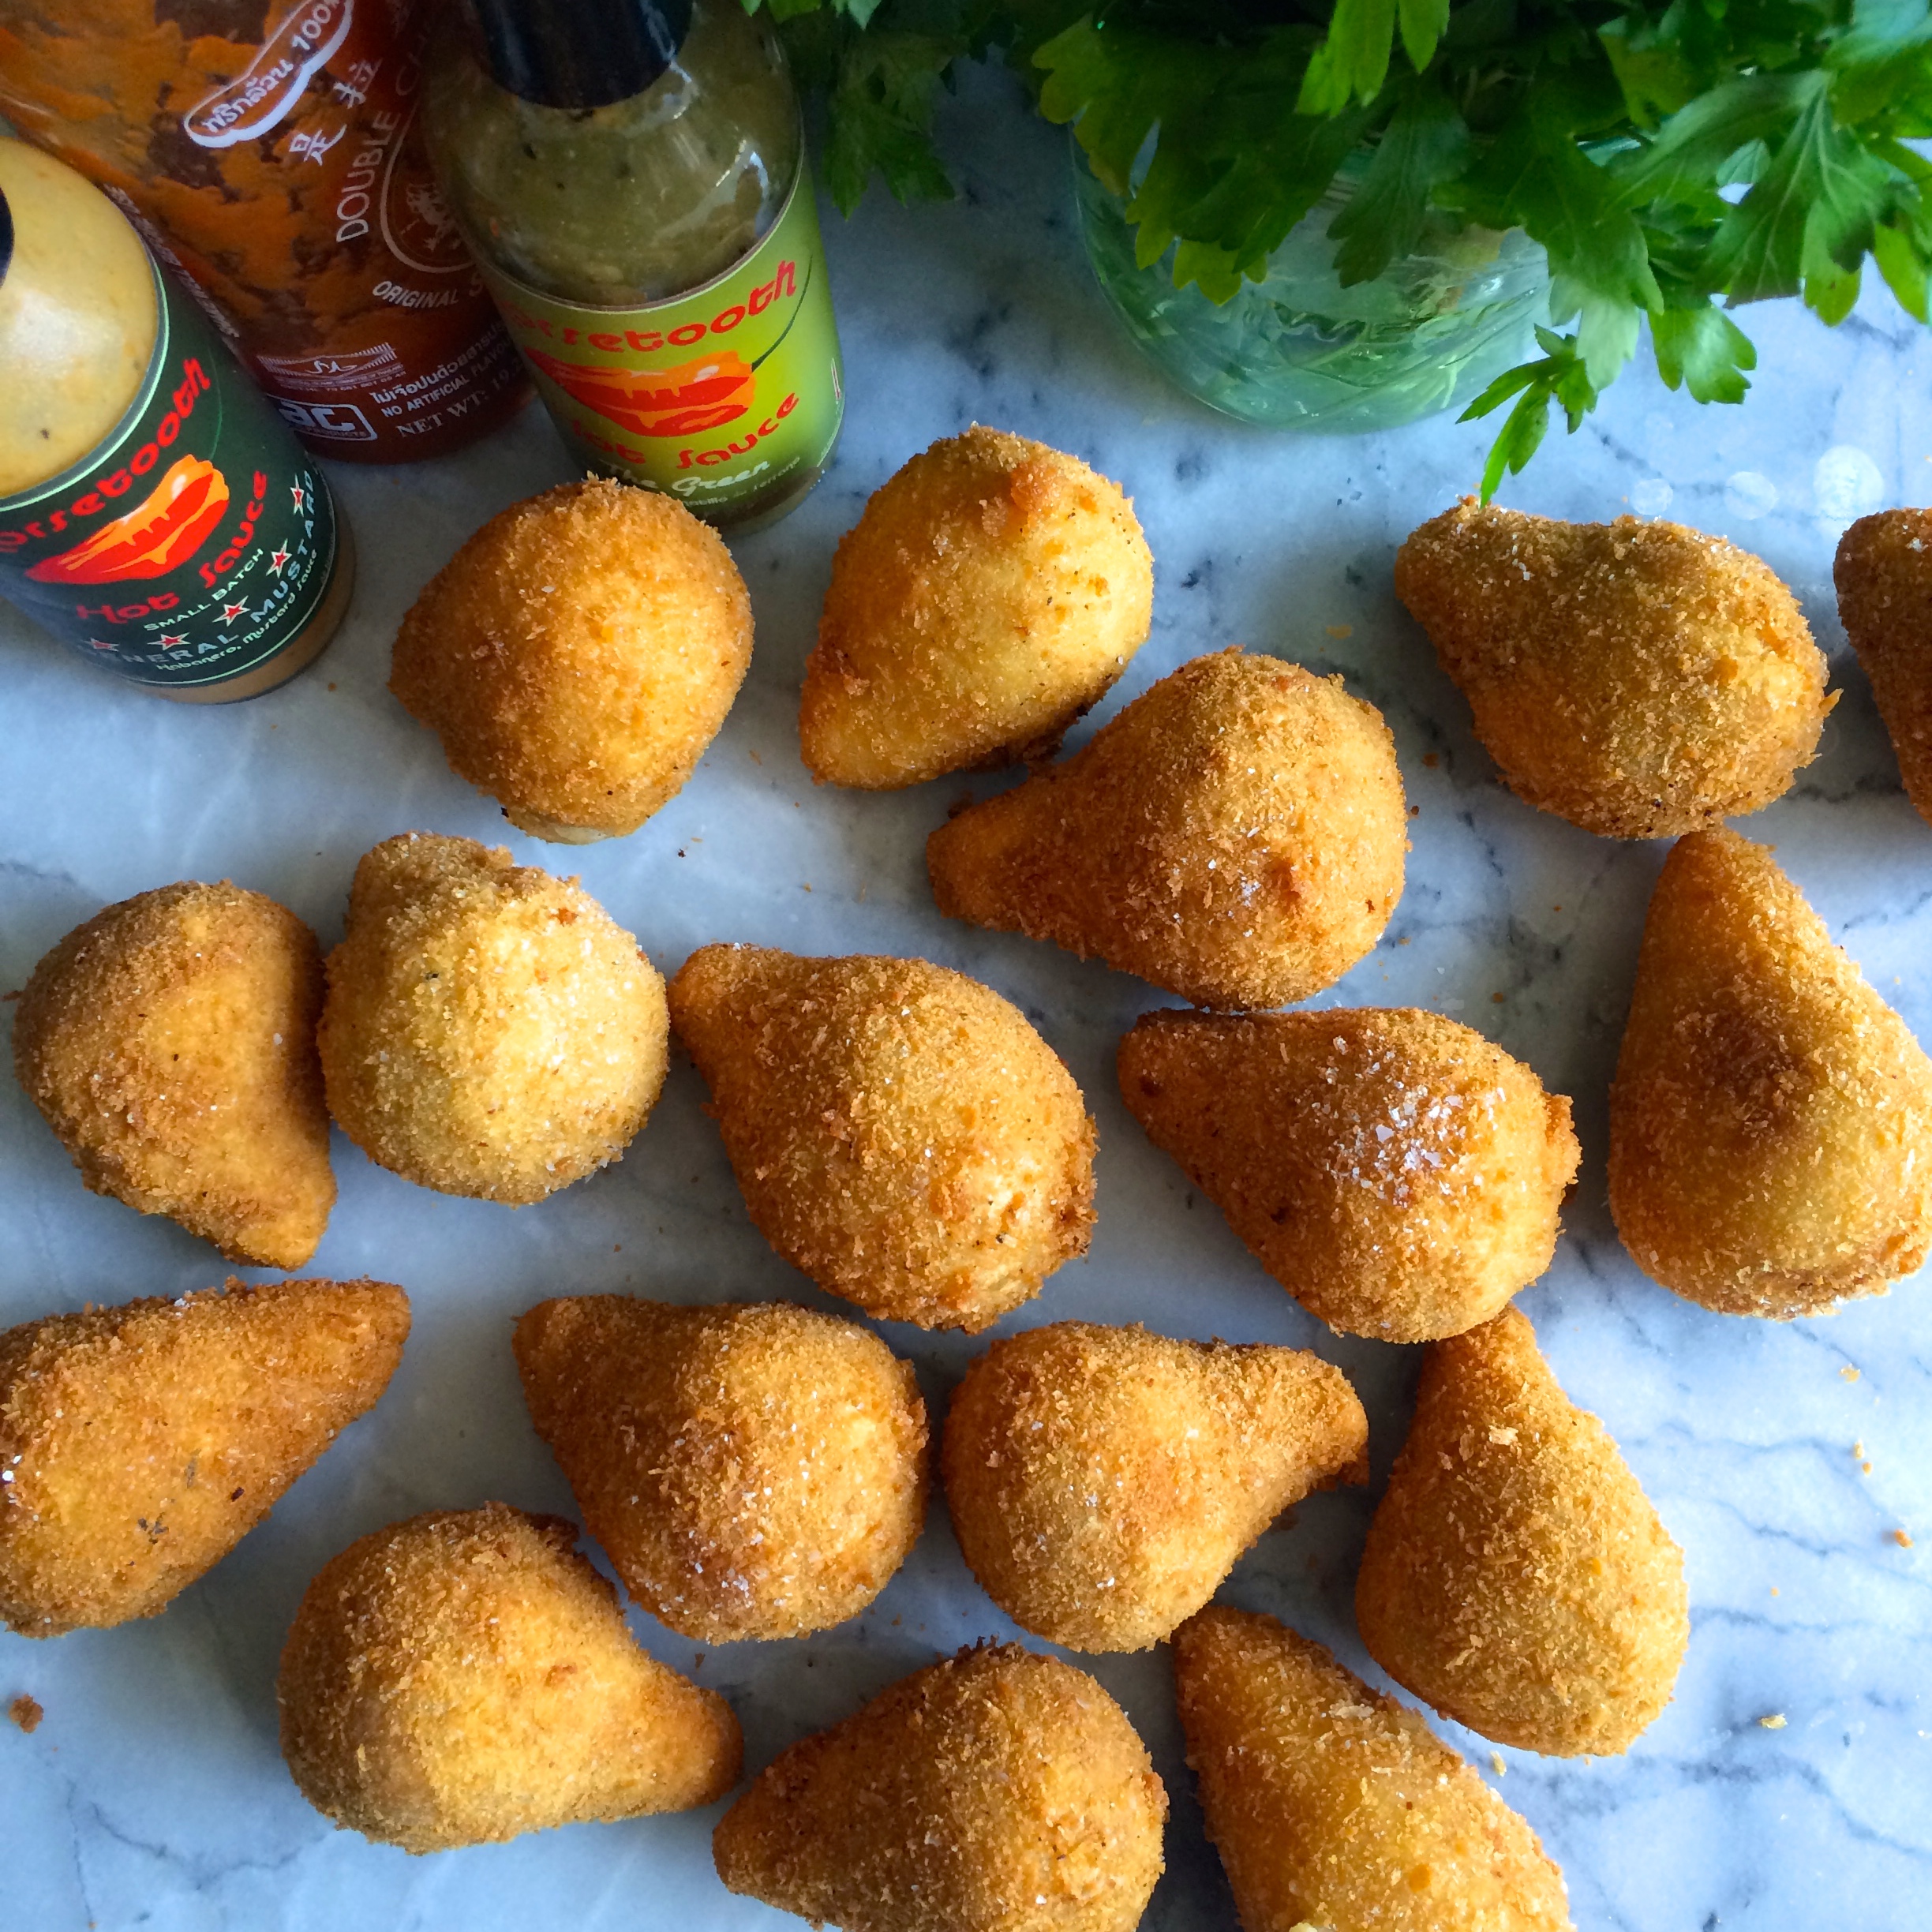
Coxinha (pronounced koh-sheen-yah) are very popular in Brazil and South America as well as a street food in Portugal. They are basically chicken dumplings that are molded into "little thighs" and then deep-fried to succulent, crispy perfection. Below is my vegetarian version (which can be made vegan with a bit of playing around), made with a mushroom filling and, of course, replacing the traditional chicken stock with vegetable stock or mushroom stock in the dough. They are slightly labor intensive, but with a few extra hands in the kitchen it goes by in a flash and they are fun to form and shape.
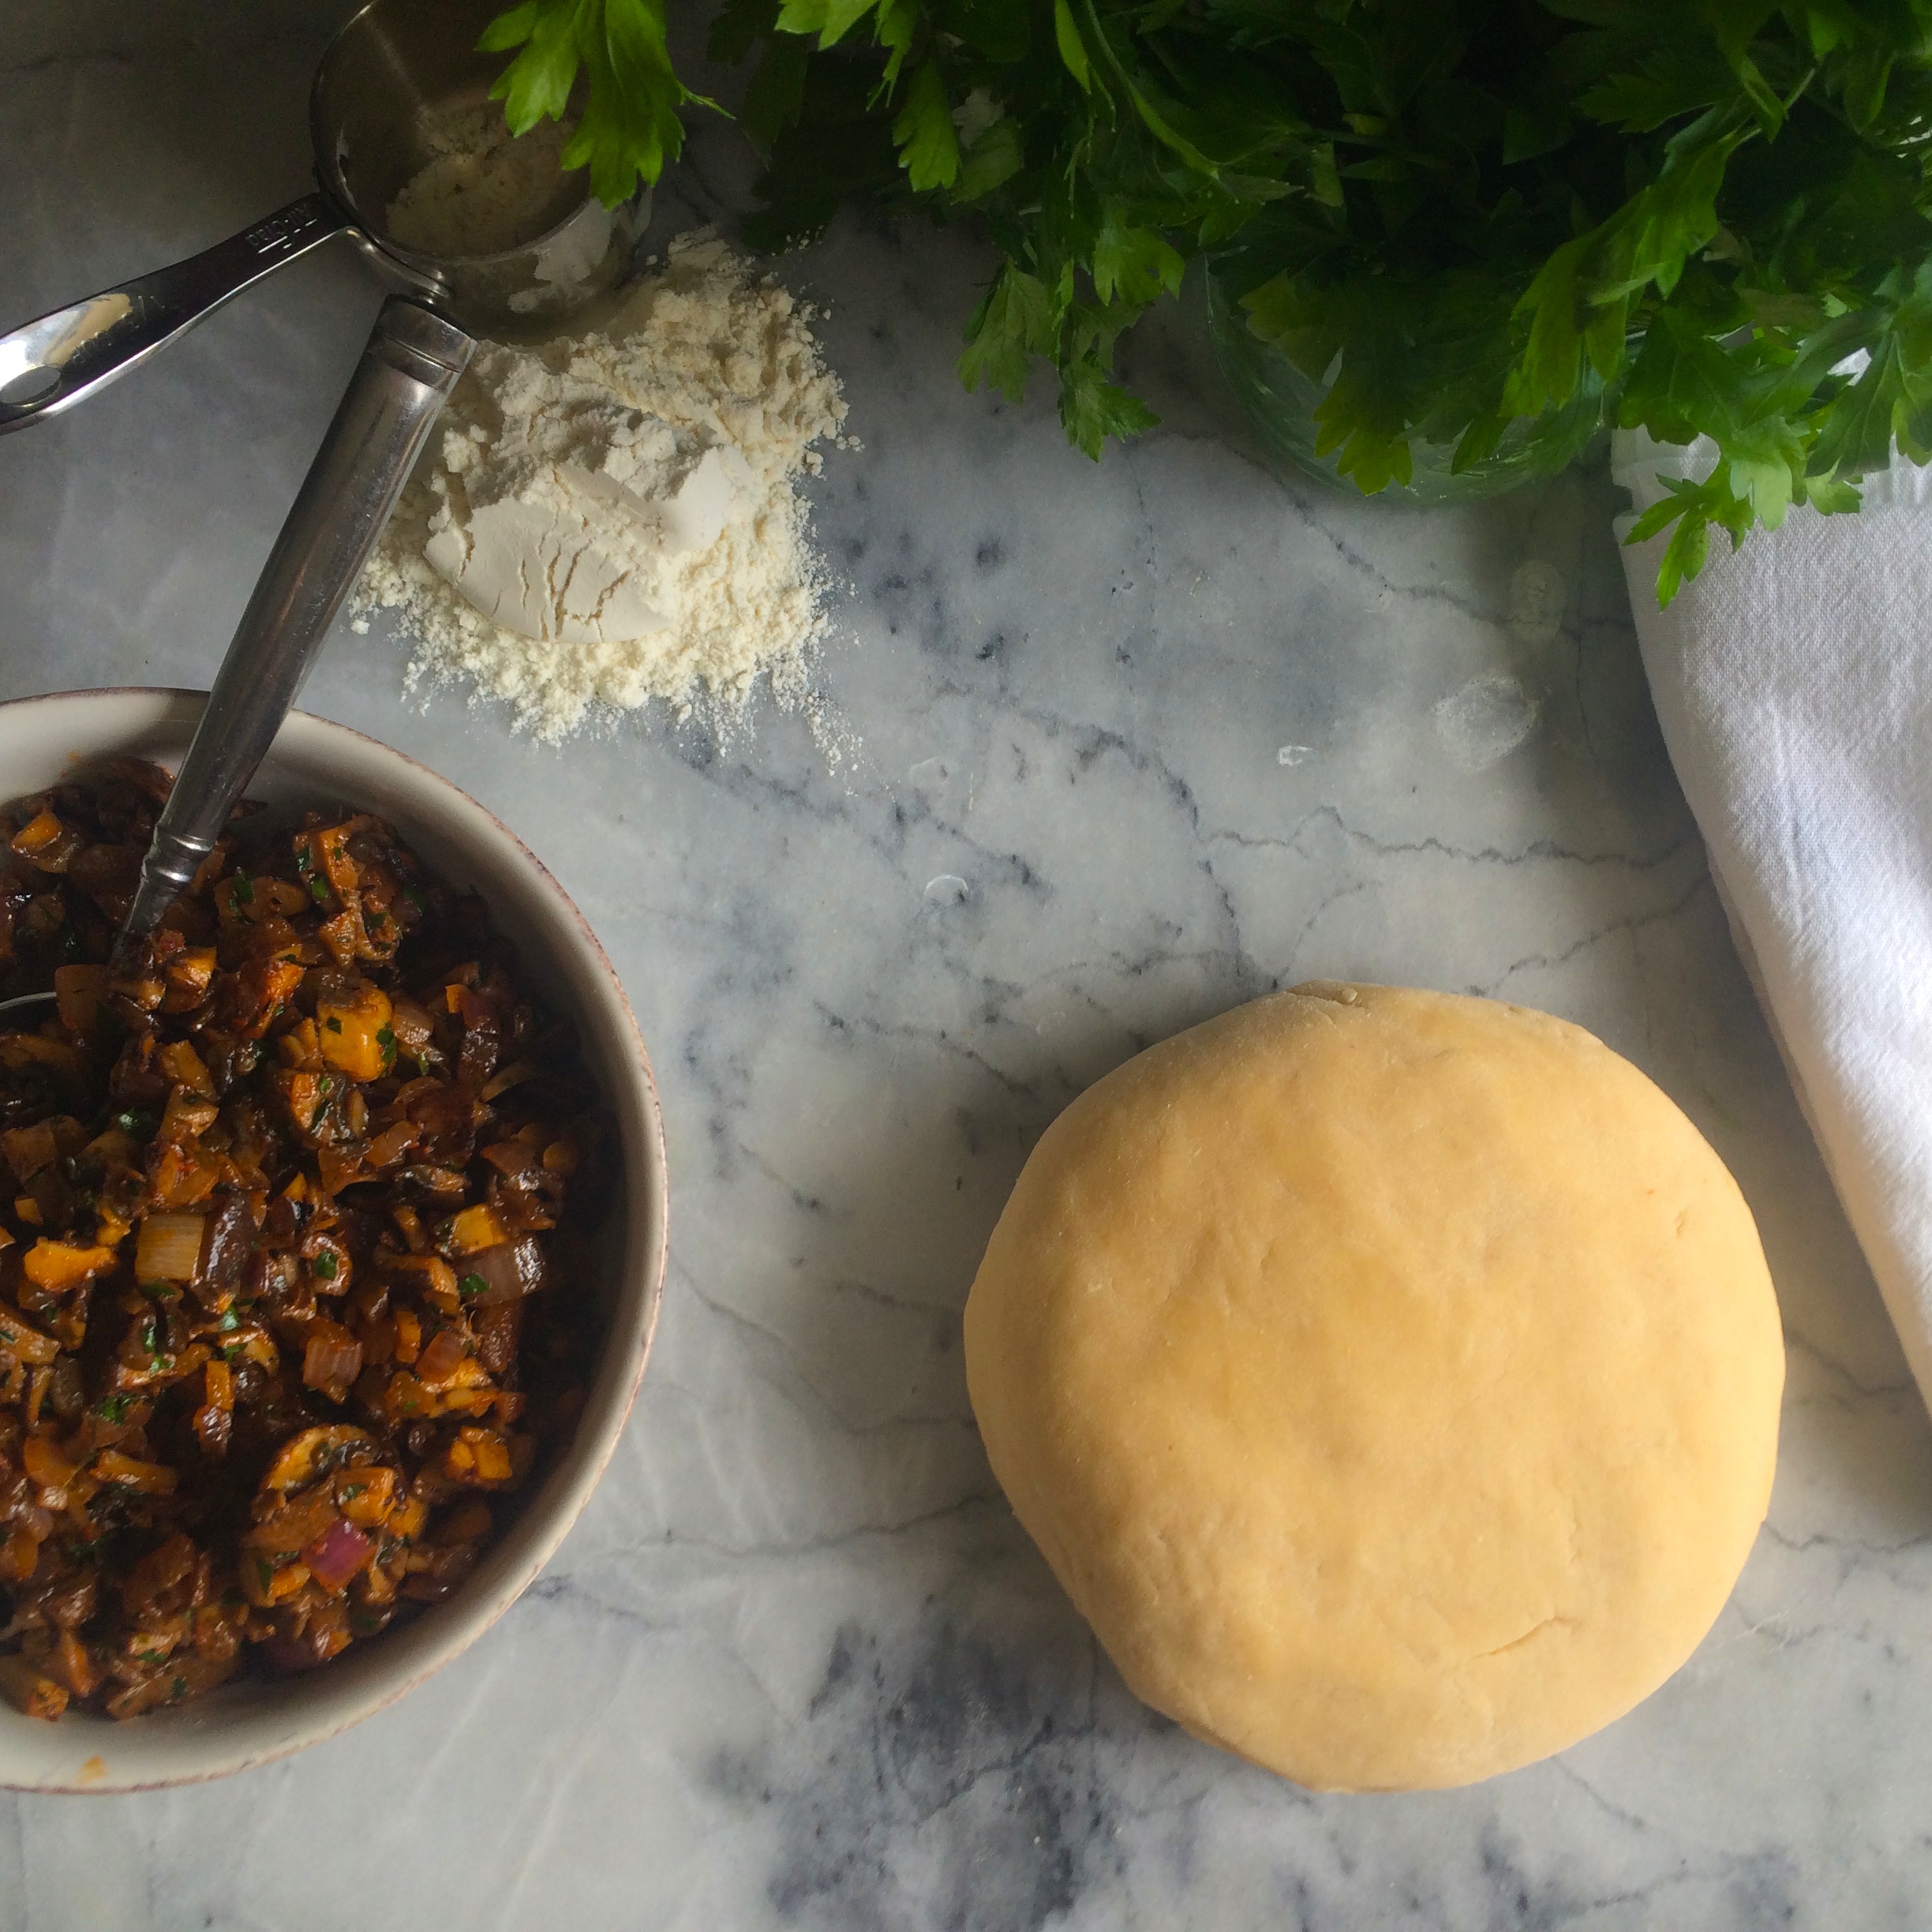
The most difficult part of making coxinha is really getting a feel for the dough - it's one of those things that can sometimes call for more or less flour depending on all kinds of factors, so you have to pay a bit of attention and trust your instincts. It shouldn't be wet and sticky, but it shouldn't be too dry either. (So helpful, right?)
Since I was taught to eat these with my favorite hot sauce, that's probably exactly what I'll do until the end of my days. However, I'm sure these would be just as tasty with mustard or your favorite dipping sauce... or even just by themselves.
I am also thrilled to share my friend Nivea Galloway's more traditional chicken coxinha recipe from São Paulo, Brasil, for those of you who might want to make both versions.
Mushroom Coxinha (vegetarian)
Ingredients
Filling:
6 cups mushrooms, chopped (I use shiitake and cremini)
1 medium-large red onion, chopped
4 garlic cloves, finely chopped
2 tbsp tomato paste
1 tbsp water
1/4 cup fresh parsley, minced
2 tsp fresh thyme leaves
2 tsp salt
1 tsp freshly ground black pepper
1 tsp paprika
1 ts. freshly grated lemon zest
pinch of cayenne pepper
olive oil for pan
Dough:
10-12 oz. all-purpose flour
8 oz low-fat milk
8 oz. low-sodium vegetable or mushroom stock
2 tbsp olive oil
1 tsp tomato paste
pinch of salt
Breading:
2 large egg whites, lightly beaten
1 1/2 cups fine breadcrumbs (or 1 cup fine breadcrumbs + 1/2 cup panko)
2-3 quarts of vegetable oil for frying
Method
Filling:
In a large skillet, heat enough oil to coat the pan (med-high heat) and sauté the mushrooms until golden brown. Transfer to a large bowl and set aside.
Add a bit more oil to the same skillet and sauté the onion and garlic until the onion is translucent.
Add the mushrooms back to the pan and add the tomato paste and water. Sauté for a minute or two until all the vegetables are evenly coated. Then add all remaining ingredients to the pan and cook for another 2 minutes until well mixed. Taste for seasoning and adjust, if necessary.
Place the mushroom filling in a bowl and set aside.
Dough:
In a medium saucepan, bring vegetable stock, milk, tomato paste, butter, and salt to a boil.
Once boiling, add in 10 oz. of flour, remove from heat, and stir constantly until the dough forms a ball. Add more flour a little bit at a time if the dough is too wet/sticky. Turn the dough out onto a lightly-floured surface and let it rest until it is cool enough to handle.
Knead the dough, like bread, for about 3 minutes, until it feels smooth and cool to the touch. If the dough is still too wet, continue to knead flour into the dough a little bit at a time.
To assemble the coxinha:
Bring a pot of vegetable oil up to 350° F.
Take about 2 tbsp. of dough and roll into a little ball. Then flatten each ball into a disc and place a heaping tsp. of filling (use your best judgment) in the center. Bring the dough up around the filling and pinch the dough at the top to make a little pear shape. Make sure you have enough filling in each; you don't want it to be too doughy.
Once all the coxinha are assembled, brush them with egg white and then evenly and thoroughly coat with breadcrumbs. Fry 3-5 at a time for 2-3 minutes each, until deeply golden brown and crispy.
To keep a large batch warm in the oven, place a rack on a sheet tray and set the oven to 200°F. Serve warm or room temperature. These freeze well, too.
Traditional Coxinha (Chicken)
Ingredients
Filling:
2 lbs. chicken (preferably breast meat)
Enough water or chicken broth to cover chicken
1 large yellow onion, chopped
4 garlic cloves, finely chopped
1 tomato, peeled, seeded, and diced
2 tbsp. fresh parsley, minced
2 tbsp. fresh cilantro, minced
1 tsp. tomato paste
1 1/2 tsp. freshly ground black pepper
1 tsp. salt or more, to taste
olive oil for pan
Dough:
10-12 oz. all-purpose flour, plus more for kneading
8 oz. chicken stock
8 oz. milk
2 tbsp. butter
1 tsp. tomato paste pinch of salt
Breading:
2 large egg whites, lightly beaten
1 1/2 cups fine breadcrumbs (or 1 cup fine breadcrumbs + 1/2 cup panko)
2-3 quarts of vegetable oil for frying
Method
Filling:
Lightly simmer chicken meat (in enough water or unsalted chicken broth to cover by an inch) until cooked through and tender, about 10-15 minutes. When cool, chop or shred into small pieces and set aside.
In a large skillet, heat enough oil (medium-high heat) to coat the pan and sauté onion, garlic, and tomato until the onion is translucent. Then add tomato paste, salt, and pepper and cook for about a minute, just until the tomato paste is evenly distributed. Turn the heat to low, then add the chicken, parsley, and cilantro. Cook for just a few minutes until everything is well mixed.
Place the chicken filling in a bowl and set aside.
Dough:
In a medium saucepan, bring chicken stock, milk, tomato paste, butter, and salt to a boil.
Once boiling, add in 10 oz. of flour, remove from heat, and stir constantly until the dough forms a ball. Add more flour a little bit at a time if the dough is too wet/sticky.
Turn the dough out onto a lightly-floured surface and let it rest until it is cool enough to handle.
Knead the dough, like bread, for about 3 minutes, until it feels smooth and cool to the touch. If the dough is still too wet, continue to knead flour into the dough a little bit at a time.
To assemble the coxinha:
Bring a pot of vegetable oil up to 350°F.
Take about 2 tbsp. of dough and roll into a little ball. Then flatten each ball into a disc and place a heaping tsp. of filling (use your best judgment) in the center. Bring the dough up around the filling and pinch the dough at the top to make a little pear shape. Make sure you have enough filling in each; you don't want it to be too doughy.
Once all the coxinha are assembled, brush them with egg white and then evenly and thoroughly coat with breadcrumbs. Fry 3-5 at a time for 2-3 minutes each, until deeply golden brown and crispy.
To keep a large batch warm in the oven, place a rack on a sheet tray and set the oven to 200° F. Serve warm or room temperature. These freeze well, too.


